I think I am officially the daddy of all title-makers. (Because they’re so bad they’re good, exactly like dad jokes). Anyway…
After my successful flatbread baking, I got a little over confident. I decided I probably was a professional baker, and if I practised enough types of bread I could literally become a baker.
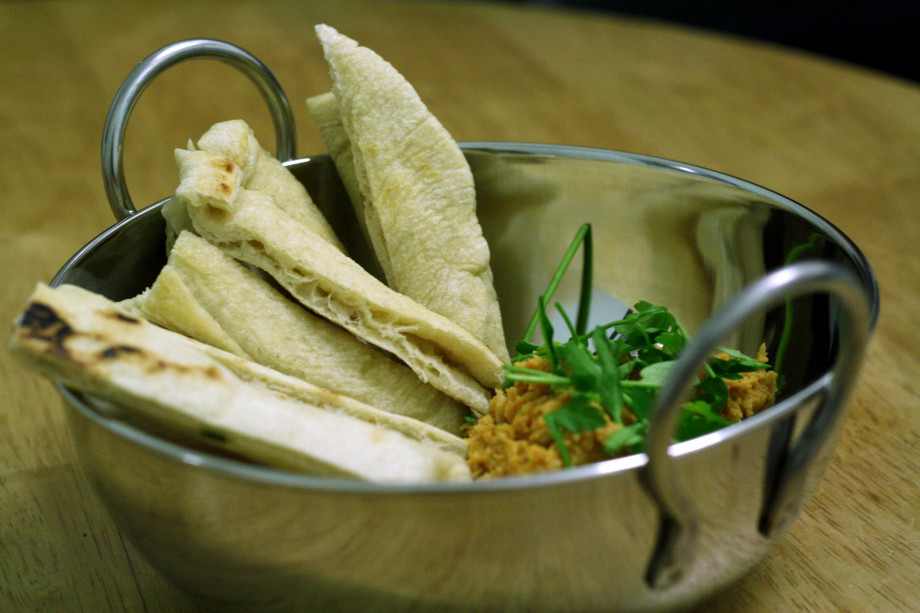
My next bake, this pita bread, definitely made me realise that baking isn’t quite as easy as I thought. Not to say this recipe is so difficult that you shouldn’t attempt it, just that it requires a bit of effort and may not 100% turn out like pita bread.
Still, totally worth it.
I used this recipe as it matched the ingredients I had, but this method as I didn’t have a bread maker (I DO NOW!!!). I also added garlic and parsley to make it a bit more interesting.
Ingredients (makes 8 portions)
250ml warm water
375g plain flour
1 tsp salt
1 tablespoon olive oil
1 1/2 tsp caster sugar
1 1/2 tsp yeast
1 garlic clove, sliced and diced
Handful fresh parsley, chopped
Pour the yeast and sugar into the water and leave for 10 – 15 minutes. Warning, this mixture stinks.
Put the flour into a large mixing bowl and add the water, stirring. This makes the stickiest, worst feeling dough ever – add the garlic and parsley, mix in and then kneed for 15 minutes on a floured surface. This will stick to EVERYTHING, so flour your hands and the surface regularly. Your arms will probably get tired, just keep going. You can do this!
Once a smooth, non sticky dough has formed, cover the bowl with a clean cloth and leave to rise for two hours. Once risen, you can refridgerate the dough (it keeps for a week) or divide into 8 and roll each portion out. The mixture gets sticky again, so make sure you flour the surface, your hands and your rolling pin.
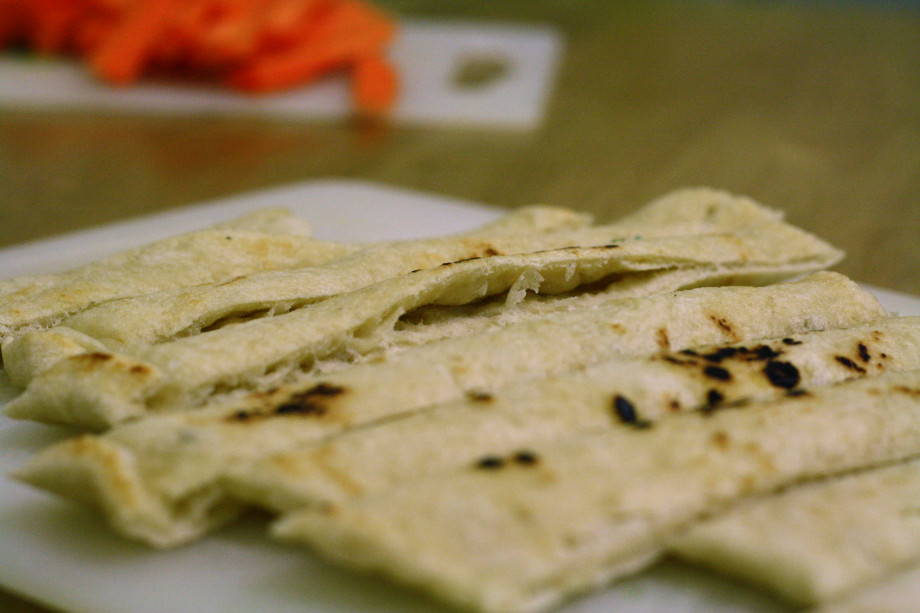
Note, I found it impossible to roll these into circles. My pitta breads were more like elongated wiggly squares.
To cook these in the oven, preheat it to 220 degrees and put them in when hot – the oven has to really be hot for them to puff up like pita bread, otherwise they’ll rise just a tiny bit (still taste good though). It’ll take 3 – 6 minutes, don’t expect them to go brown, go by touch.
To cook on the stove, preheat your pan to maximum, lightly oil the pan and fry for 1 minute before flipping, frying for two minutes and then flipping to fry for a final minute on the original side. Again, the pan has to be ridiculously hot to puff the pitas up.
Our first batch didn’t puff up as much as we wanted, and I realised it made a pretty nice dough, so the weekend after I cooked the leftover dough in garlic infused oil in a pan on medium heat, so that the dough didn’t separate, and made the most beautiful (and vegan) garlic bread. I also think it would make a good pizza base if you wanted to go down that route!
Despite the whole sticky hands and arm ache thing, I really enjoyed making this (and eating it even more!) and I definitely will be trying other bread out. I want to make tiger bread, it looks pretty easy and is possible the nicest bread ever. Fresh bread, bit of Lurpak.. Magical.
Have you tried any baking lately?


